If you’ve got a Wix website and are wishing to supercharge marketing, then you must have probably heard of HubSpot. HubSpot is CRM software, i.e., it automates marketing processes, sales, and turns a website into a revenue-generating end.
Connecting HubSpot to your Wix website is the extra effort needed to bring your residences to customers, the last mile of selling business, handcrafted jewelry from Bondi, or starting a café in Melbourne. This guide is your buddy to setting it up step-by-step in a tone as clear as Perth sunshine. No tech jargon; just straight tips to get you started. Ready to take the plunge?
Table of contents
- Why Connect HubSpot to Your Wix Website?
- Step 1: Setting Up Your HubSpot Account
- Step 2: Preparing Your Wix Website
- Step 3: Connecting HubSpot to Your Wix Website
- Step 4: Adding HubSpot Tracking Code
- Step 5: Setting Up Forms and Pop-Ups
- Step 6: Automating Your Marketing
- Step 7: Analysing and Optimising
- Tips for Success
- Conclusion: Get Started and Grow Your Business
Why Connect HubSpot to Your Wix Website?
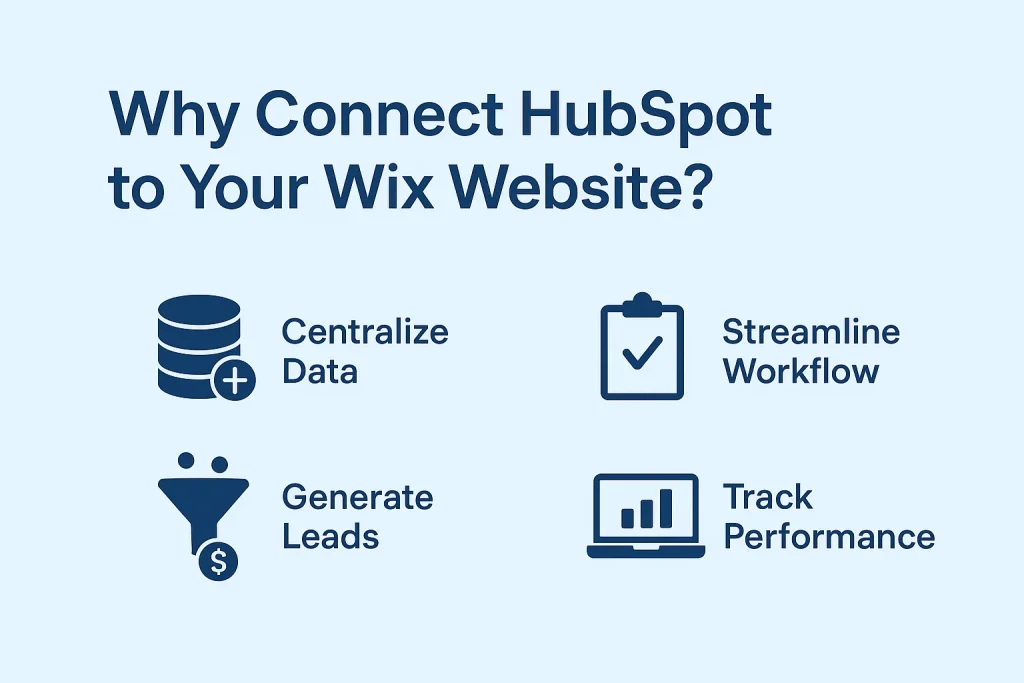
Let’s set the stage. For sales, marketing, and customer service, HubSpot is like a Swiss Army knife; it tracks visitors, nurtures leads, and initiates campaigns that genuinely connect with prospective clients in the wink of an eye. When you integrate it with your Wix website, you will be organizing your day-to-day business activities, like sending emails, tracking listings to loyal customers, or checking how visitors land on your site.
This combo will ensure that local Aussies stand out for their products in a competitive market. Moreover, being beginner-friendly, it won’t take long until you’re selling like a pro.
Step 1: Setting Up Your HubSpot Account
One of the essential steps is setting up a free HubSpot account from the HubSpot website. They offer a free plan, which is just enough for small businesses or those just getting into the marketing automation act. As part of registration, you’ll have some questions about your business. It is simple, and you can go the Aussie way, either to Sydney or Down Under.
Now you’ll be greeted with a user-friendly dashboard reminiscent of a barbecue beach party. Think about taking a short tour around first.
Step 2: Preparing Your Wix Website
This checks everything; now, the Wix website should be waiting to work. If you have a store, Wix Ecommerce is a complete solution for selling products, managing inventory, and collecting payments. Check if your website is active and listing your products or services, and if your contact pages are appropriate, so that they give HubSpot the best opportunity to start tracking visitors or collecting leads.
If you haven’t set up your online store, Wix’s drag-and-drop interface is so simple to use that even your nan can whip up a nice design for your customers.
Step 3: Connecting HubSpot to Your Wix Website
Now for the main event: HubSpot integration. This is where the magic happens, and it’s simpler than assembling a flat-pack from IKEA. Sign in to your HubSpot account and navigate to “Integrations.” Search for Wix in the marketplace; it’s listed as a native integration, so it’s built for smooth operations.
Hit “Connect,” and the next steps will ask you to log in to your Wix account; give HubSpot the permission it needs to access your website. After this, HubSpot will start collecting data from your website, such as visitor record behavior and form submissions. And it takes no more than five minutes; it’s so easy that a grandma can do it.
Step 4: Adding HubSpot Tracking Code
You will want to get the tracking code installed on your Wix site to make this worthwhile. This one embeds a nice little code acting as a spy, keeping a lookout on what visitors are doing on the site.
In HubSpot, go into “Settings,” then to “Tracking & Analytics,” and grab a copy of the tracking code. Next, go into your Wix dashboard, open “Settings,” and head for “Advanced.” Paste the code into the “Custom Code” section for the site header, and save and publish your site. Bingo, you now have some keen insight from HubSpot into your visitor activity! That data will tell you what’s hot with Aussies on your site, whether they’re connecting from Brisbane or Broome.
Step 5: Setting Up Forms and Pop-Ups
Probably the most potent aspect of HubSpot is lead capture via forms and pop-ups. In HubSpot, go to Marketing > Lead Capture > Forms. Design your forms and have them ask for names and emails, or any other fun, localized questions you’d like, such as, “What’s your favourite coffee order?”
When you’re happy with the form, grab the embed code that HubSpot generates for you. Switch over to the Wix editor, add a custom element, paste in your embed code, then position it wherever you’d like your form to show up on the homepage. Sounds like a winner, or maybe a page for special offers. Great forms to help grow your email list; connecting with Aussie customers is gold.
Step 6: Automating Your Marketing
With everything seamless, now let HubSpot do the heavy lifting for you. You can now set up automated email workflows to welcome new subscribers and follow up with customers who abandon their carts. Head over to “Automation” in HubSpot and create a workflow.
Create an email to be sent to anyone who signs up using your form with a discount code for their next purchase. As your Wix store is ready for eCommerce, your product link will be embedded in the email, making it super easy for customers to buy. Automation saves your time and keeps the marketing on track, catering to customers from Darwin to Adelaide.
Step 7: Analysing and Optimising
This is where the setup pays for itself, with all the insight you get. HubSpot’s analytics dashboard will shed light on how the visitors have found your site, which pages they spend the most time on, and how many are entering the funnel as leads. Make sure you have a little time every week to inspect these reports so that you notice trends.
Are visitors from Perth mainly clicking on your blog rather than your product page? Maybe it’s time for some tweaking in your content. Use these insights to refine your website and marketing strategies. HubSpot data is equivalent to having a business coach who never fails to give you the lowdown on what works and what doesn’t.
Tips for Success
To make this integration a true winner, bear a few things in mind.
- First, test your forms and e-mails to make sure that they look good on mobile; most Aussies browse on their phones.
- Second, use HubSpot’s free CRM to keep track of your customers and personalize their experience.
- Third, don’t be shy to experiment. Try various pop-up designs or email subject lines and see what clicks for your audience. The more you play around, the more you’ll learn about what makes your customers tick.
Conclusion: Get Started and Grow Your Business
So, there it is, a straightforward guide to setting up HubSpot with your Wix website. By following through with these steps, you’re not just connecting two platforms; instead, you are carving a system for nurturing your business, connecting with Aussie customers, and saving time on marketing.
Whether you are a little outfit in Tassie or a booming brand in Queensland, this configuration can help you shine online. Any queries, hypotheses, or pearls of wisdom to share? Please drop a comment below as we keep the conversation flowing. Here’s hoping your Wix website and HubSpot become that perfect flat white smooth, firm, and just the proper stocking for your business!


